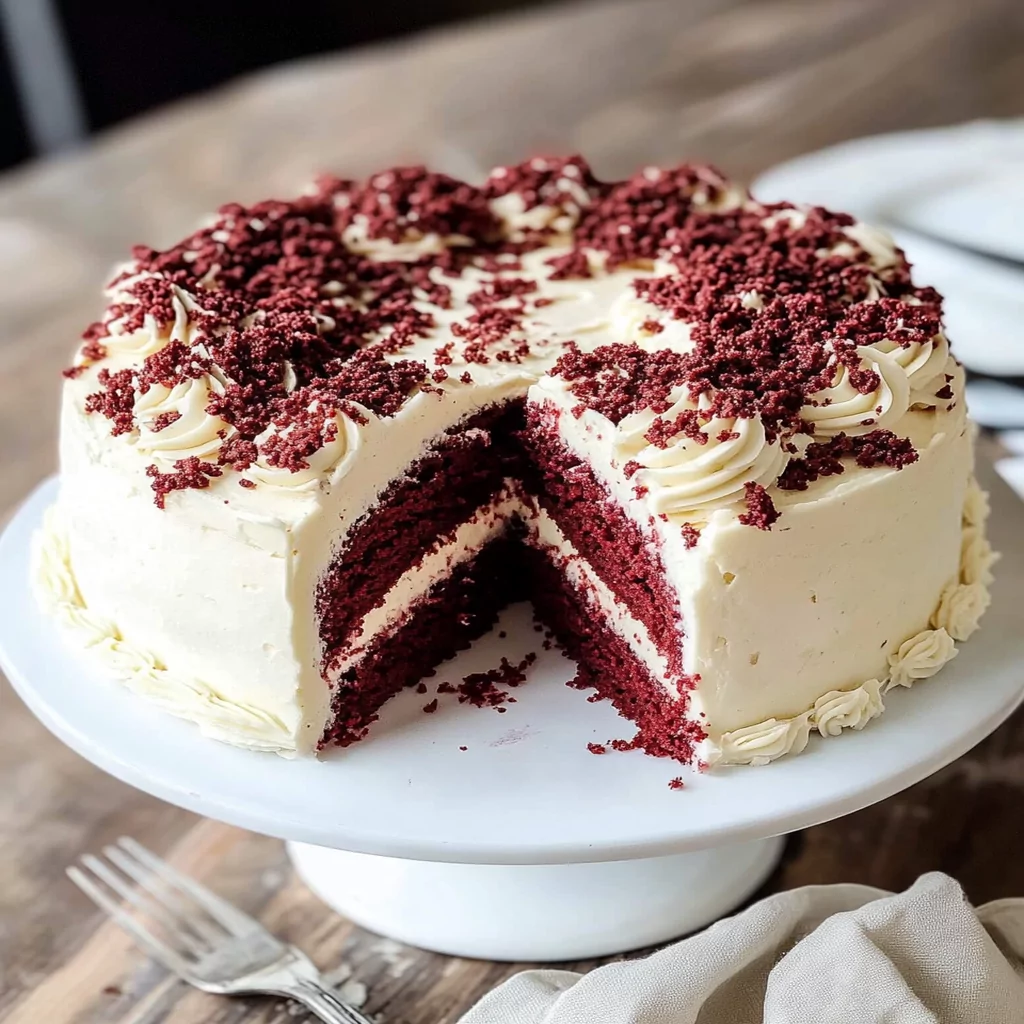
Red Velvet Cake is a timeless treat that combines rich flavors and a stunning appearance. This delightful cake is not just a feast for the eyes; its unique taste will leave your guests craving more. With its signature red color contrasted by creamy white frosting, this dessert has become a favorite at celebrations and gatherings. In this article, we’ll walk you through the process of creating a moist and flavorful Red Velvet Cake from scratch. You’ll find it easy to prepare, with detailed instructions and helpful tips to make your baking experience enjoyable.
The origins of Red Velvet Cake are intriguing, with many believing it dates back to the 1920s in Canada or even earlier in the United States. This cake’s texture is soft and velvety — hence the name — making it a delightful indulgence. The secret lies in its combination of cocoa powder, buttermilk, and vinegar that creates a tender crumb while providing that deep crimson hue.
Whether you’re celebrating a birthday, anniversary, or simply want to impress friends with your baking skills, this Red Velvet Cake recipe is sure to become a staple in your kitchen. Follow along as we explore the main ingredients needed for this delectable dessert.
Main Ingredients
All-Purpose Flour
All-purpose flour serves as the backbone of this Red Velvet Cake recipe. You’ll need about 2 ½ cups of flour for a standard two-layer cake. This type of flour provides the right balance of protein content for structure while keeping the crumb tender and soft. Be sure to sift the flour before measuring it out; this will help remove any lumps and aerate it for better mixing.
Granulated Sugar
Sugar adds sweetness and moisture to your Red Velvet Cake. For this recipe, you’ll need approximately 1 ½ cups of granulated sugar. It not only sweetens your cake but also helps create that beautiful texture by contributing to the aeration process when creamed together with butter or oil.
Unsweetened Cocoa Powder
Cocoa powder gives the cake its subtle chocolate flavor without being overpowering. You’ll require about 2 tablespoons of unsweetened cocoa powder in this recipe. This ingredient is crucial because it enhances the taste profile while helping achieve that signature velvety texture.
Vegetable Oil
Using vegetable oil instead of butter can make your Red Velvet Cake incredibly moist. You will need around 1 cup of vegetable oil. Oil keeps the cake tender and adds richness without creating a greasy texture.
Buttermilk
Buttermilk is essential for achieving that classic tangy flavor associated with Red Velvet Cake. You will need about 1 cup of buttermilk in this recipe. The acidity in buttermilk reacts with baking soda to provide lift while keeping the batter smooth and creamy.
Eggs
You will use 2 large eggs in this recipe to bind all ingredients together while adding moisture and richness to your cake. The eggs also contribute to leavening during baking, ensuring that your layers rise beautifully.
Baking Soda
Baking soda works alongside buttermilk as a leavening agent in this recipe. You will need about 1 teaspoon of baking soda to ensure proper rising during baking. It reacts with acidic components like buttermilk to create carbon dioxide bubbles that give your cake its lightness.
White Vinegar
It may seem unusual, but adding about 1 teaspoon of white vinegar helps enhance both flavor and color in Red Velvet Cake. The vinegar interacts with cocoa powder to deepen the color while also contributing to tenderness by slightly inhibiting gluten formation.
Vanilla Extract
Vanilla extract rounds out the flavors in your cake beautifully; you’ll want about 1 teaspoon for this recipe. It adds depth and warmth without overpowering other flavors present in the cake.
Cream Cheese Frosting
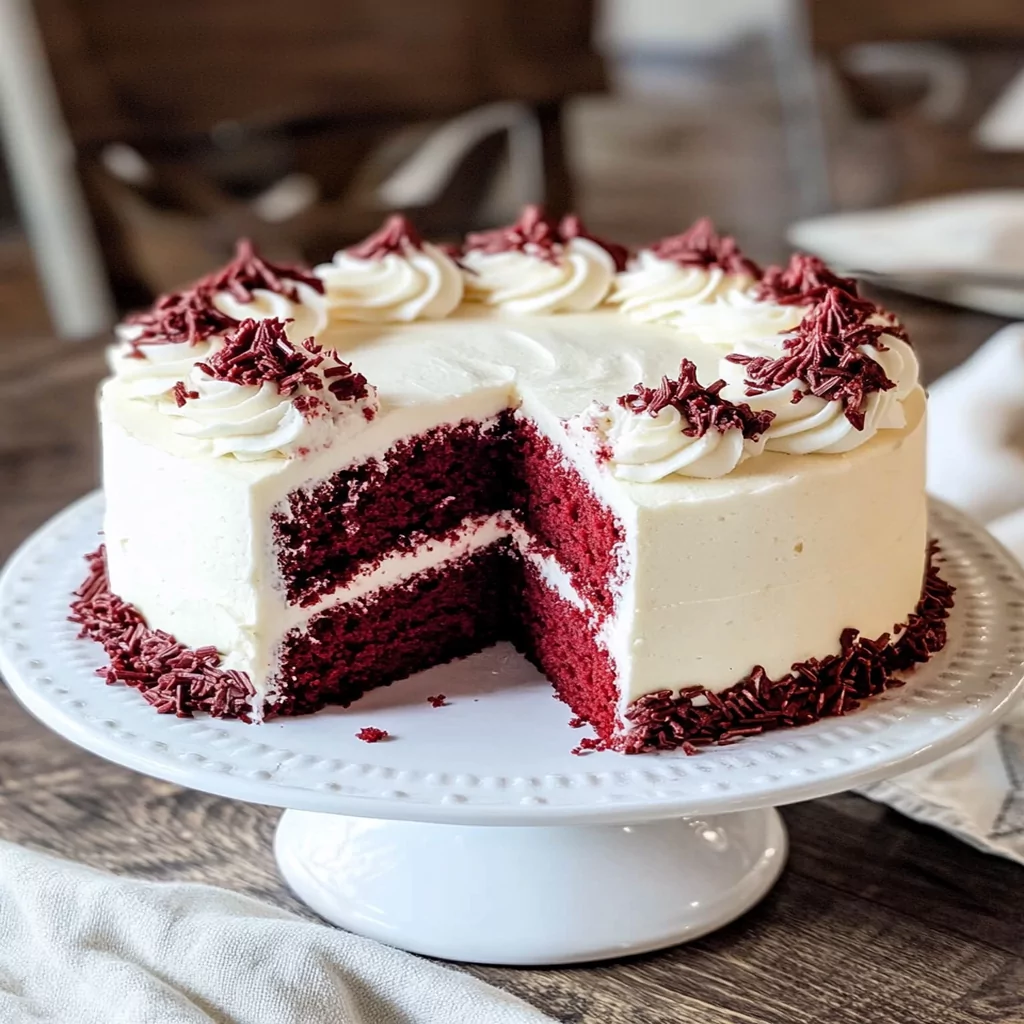
Finally, no Red Velvet Cake would be complete without its signature cream cheese frosting! For an average two-tiered layer cake, you will need approximately 8 oz (one package) of cream cheese combined with butter, powdered sugar, vanilla extract, and milk or heavy cream until smooth and spreadable.

How to Prepare Red Velvet Cake
Step One: Preheat Your Oven
Start by preheating your oven to 350°F (175°C). This ensures that when you place your batter into the oven later on, it bakes evenly from start to finish. While waiting for it to heat up, gather all ingredients on your countertop so they are within reach during preparation.
Step Two: Prepare Your Pans
Prepare two round 9-inch baking pans by greasing them lightly with cooking spray or butter followed by dusting them lightly with flour—this prevents sticking after baking! Alternatively, you can line them with parchment paper for an even easier release later on; just cut circles from parchment paper that fit inside each pan perfectly before securing them down with grease or butter.
Step Three: Mix Dry Ingredients
In a mixing bowl large enough for all components combined later on (preferably at least holding five quarts), whisk together all-purpose flour (2 ½ cups), unsweetened cocoa powder (2 tablespoons), baking soda (1 teaspoon), and salt (½ teaspoon). Whisking aerates dry ingredients which results in lighter-textured cakes when baked! Set aside once fully incorporated so focus shifts ahead toward wet mixtures next!
Step Four: Cream Sugar & Oil Together
Now it’s time for some classic creaming action! In another bowl—using either an electric mixer fitted with paddle attachment or hand-held version—combine granulated sugar (1 ½ cups) along with vegetable oil (1 cup). Beat these two together until thoroughly combined—roughly three minutes should do here—aiming primarily towards achieving fluffy consistency throughout mixture before moving forward!
Step Five: Add Eggs & Buttermilk
Beat those two large eggs into mixture one at-a-time ensuring even incorporation before adding next egg down line! Afterward pour whole cup-worths worth buttermilk into same bowl alongside prepared vanilla extract (1 teaspoon) stirring gently yet thoroughly till everything looks well-blended again without lumps remaining visible throughout batter consistency achieved hereafter!
Step Six: Combine Wet & Dry Ingredients
Here comes perhaps most exciting part yet—slowly fold previously mixed dry ingredients into freshly made wet batter! Do so gently using spatula until no streaks remain visible throughout final mixture produced overall; take care not overmix though as doing so might result dense loaf rather than desired fluffy softness expected post-baking!
Step Seven: Bake Your Layers
Now divide finished batter evenly between both greased-and-prepared round pans placed earlier onto oven shelf inside preheated environment set earlier! Bake these layers roughly twenty-five-to-thirty minutes checking doneness through toothpick test method applied centrally waiting till inserted comes clean upon removing afterward then cool completely outside afterward upon finishing step successfully completed here today!
Serving and Storing Tips
Serving Suggestions
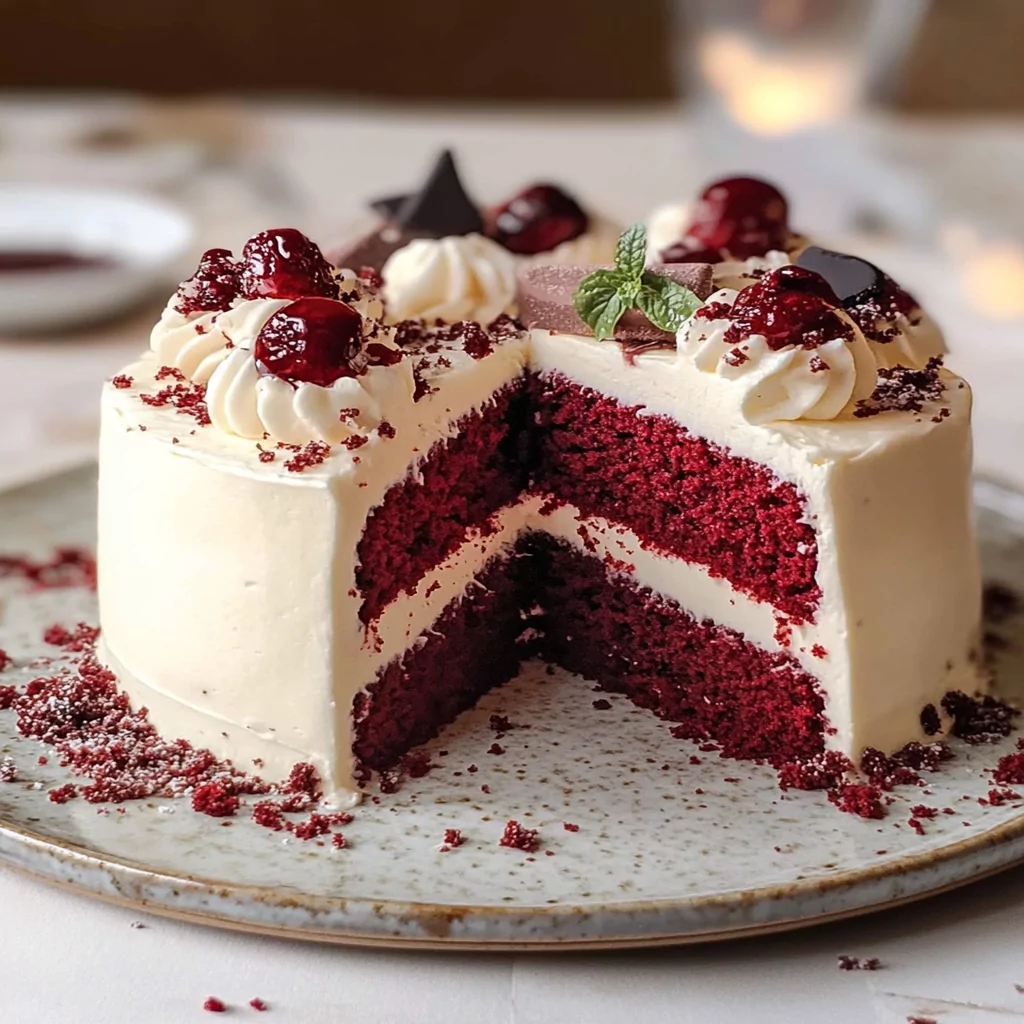
When serving Red Velvet Cake at gatherings or celebrations alike consider presenting slices adorned creatively atop colorful plates garnished thoughtfully perhaps along fresh berries whipped cream sprigs mint leaves etc., enhancing visual appeal further drawing attention towards centerpiece served proudly amongst guests gathered around table sharing joyous moments together enjoying rich deliciousness offered today through culinary creation made lovingly beforehand!
Additionally pairing slices alongside hot beverages such coffee tea lattes hot chocolate complements decadent textures tastes found within each bite allowing flavors meld harmoniously across palate inviting repeat indulgences sought after eagerly once initial servings enjoyed completely devoured down leaving behind nothing more than crumbs longing return visit soon thereafter relishing every moment spent indulging sweet pleasures shared together among loved ones near dear hearts close-knit circle built over time fostering memories cherished forever lasting impressions left behind long past occasions celebrated joyously filled laughter love bonding shared experiences creating deeper connections formed through culinary delights savored fondly afterwards reminiscing fondly cherished times spent together previously reliving nostalgia evoked beautifully reminding everyone gathered fondly reflecting back happiness enjoyed collectively throughout journey undertaken thus far!
Mistakes to avoid
One of the key mistakes when making Red Velvet Cake is using the wrong type of cocoa powder. Many bakers reach for Dutch-processed cocoa, thinking it will add a richer flavor. However, this type of cocoa has been alkalized, which can alter the pH balance in your cake, resulting in a less vibrant color and a different texture. Always choose natural unsweetened cocoa powder for that classic red velvet flavor and color. This choice will ensure your cake rises beautifully and maintains that signature moistness.
Another common mistake is overmixing the batter. While it may be tempting to mix until everything is perfectly combined, doing so can develop gluten in the flour, leading to a dense and chewy cake instead of the light and fluffy texture you desire. Aim to mix just until the ingredients are incorporated. A few lumps are okay; they will bake out during cooking. Remember, less is often more when it comes to mixing!
Not measuring ingredients correctly is another pitfall that many home bakers fall into when making Red Velvet Cake. Baking is an exact science, and even slight variations in measurements can lead to undesirable results. Always use dry measuring cups for flour and sugar, and liquid measuring cups for milk or oil. Additionally, consider using a kitchen scale for precision, especially if you’re trying a new recipe or ingredient substitutions.
Lastly, skipping the buttermilk can significantly impact your cake’s taste and texture. Buttermilk not only adds moisture but also contributes to that unique tangy flavor characteristic of Red Velvet Cake. If you find yourself without buttermilk, you can easily make a substitute using regular milk and vinegar or lemon juice; simply allow it to sit for about 5 minutes before adding it to your batter.
Tips and tricks
A great tip for achieving the perfect Red Velvet Cake is to use room temperature ingredients. Ingredients like butter, eggs, and buttermilk should be at room temperature before mixing them together. This allows for better incorporation of air into the batter, resulting in a lighter cake with an even crumb structure. Cold ingredients tend to clump together rather than blend smoothly, which can lead to uneven baking.
Pay careful attention to your baking time as well; every oven is different! To ensure your Red Velvet Cake does not dry out or underbake, start checking for doneness a few minutes before the recommended time in your recipe. Insert a toothpick into the center of the cake; if it comes out clean or with just a few moist crumbs attached, it’s time to take it out of the oven.
Consider investing in quality food coloring when making Red Velvet Cake. The traditional red hue comes from using red food dye; however, not all food dyes create the same vibrant color. Gel food coloring is often preferred because it provides more intense color without adding extra liquid to your batter. Follow manufacturer instructions on how much to use for optimal results.
Another useful trick is layering flavors by adding vanilla extract or almond extract into your frosting or batter. These flavor enhancers complement the chocolate notes in Red Velvet Cake beautifully while adding an extra depth of flavor that keeps people coming back for more.
Finally, let your cakes cool completely before frosting them with cream cheese frosting or any other topping you choose. Warm cakes can cause frosting to melt and slide off rather than adhere properly. For best results, refrigerate your cakes after cooling them on wire racks; this way, they firm up nicely before decorating.
Suggestions for Red Velvet Cake
When preparing Red Velvet Cake for special occasions such as birthdays or holidays, consider personalizing it further with themed decorations or toppings that match your event’s colors or motifs. For instance, you could add edible gold leaf accents or fresh berries on top of your frosted cake for added visual appeal and freshness.
If you’re serving a large group or want leftovers for later enjoyment (because who doesn’t love leftover dessert?), consider baking two smaller round cakes instead of one large one; layer them with delicious cream cheese frosting between each layer as well as on top! This approach not only looks stunning but also provides individual servings without cutting into larger slices.
For those who want to enhance their baking skills even further, experimenting with different fillings might be just what you need! Try incorporating layers of raspberry jam or chocolate ganache within your Red Velvet Cake layers before frosting; these additions will surprise guests with delightful bursts of flavor upon each bite!
Should anyone have dietary restrictions among their guests—such as gluten intolerance—you can still provide them with options by creating gluten-free versions using almond flour or coconut flour instead! It’s important always to inform guests about ingredient changes so they feel safe enjoying what you’ve prepared.
Lastly—and perhaps most importantly—never forget presentation matters! Invest in a beautiful cake stand or platter when serving your Red Velvet Cake; this simple addition elevates an already impressive dessert into something truly unforgettable at any gathering.
FAQs
What makes Red Velvet Cake red?
Red Velvet Cake gets its signature color primarily from food coloring added during preparation. Originally derived from cocoa powder reacting with acidic ingredients like vinegar and buttermilk produced subtle reddish tones but modern recipes typically rely on red dye for vibrancy during baking processes today.
Can I make Red Velvet Cake without buttermilk?
Yes! If you don’t have buttermilk on hand while preparing your recipe simply combine regular milk with vinegar or lemon juice as substitutes instead! Allow this mixture time (around five minutes) so that curdling occurs prior adding it into other ingredients listed within recipe steps.
How do I store leftover Red Velvet Cake?
To keep leftover slices fresh after enjoying some delicious bites simply wrap each piece tightly in plastic wrap before placing them inside an airtight container then store inside refrigerator where they’ll last several days! For longer storage consider freezing slices individually wrapped then placing them altogether within freezer-friendly bags stored away until needed again later!
Can I use oil instead of butter in my Red Velvet Cake?
Absolutely—you can substitute vegetable oil directly instead of softened butter when preparing this delightful dessert! Oil adds moisture while still providing rich flavors although texture may differ slightly compared standard recipes requiring traditional dairy-based fats like butter would yield however both options work beautifully regardless!
Is there a vegan version of Red Velvet Cake?
Definitely! To create vegan-friendly variants replace eggs with flaxseed meal mixed water ratio (1 tablespoon flaxseed meal plus 2 tablespoons water equals one egg) along with non-dairy alternatives like almond milk while utilizing plant-based oils too—these adjustments maintain overall flavors while accommodating dietary preferences!
What frosting goes best with Red Velvet Cake?
Cream cheese frosting remains classic pairing due its tangy yet sweet taste perfectly complimenting richness found within velvety layers themselves although variations exist such whipped cream toppings ganaches could also serve equally well depending personal preferences enjoyed amongst guests present at any gathering!
Conclusion
In summary, creating an exceptional Red Velvet Cake involves avoiding common pitfalls like incorrect ingredient choices and overmixing while employing helpful tips such as using room temperature items and quality food coloring ensures optimal results every time you bake this beloved dessert! Personalizing cakes through creative decorations enhances visual appeal while experimenting with fillings introduces delightful surprises within each bite shared amongst loved ones gathered around table together enjoying sweet moments spent celebrating life’s milestones together too—all making memories worth cherishing long after last slice has been devoured completely!
Print
Red Velvet Cake
- Prep Time: 15 minutes
- Cook Time: 30 minutes
- Total Time: 45 minutes
Description
A moist, tender cake with a hint of chocolate flavor, tangy cream cheese frosting, and a vibrant red color—a timeless favorite for any celebration!
Ingredients
- 2½ cups all-purpose flour
- 1½ cups granulated sugar
- 2 tbsp unsweetened cocoa powder
- 1 cup vegetable oil
- 1 cup buttermilk
- 2 large eggs
- 1 tsp baking soda
- 1 tsp white vinegar
- 1 tsp vanilla extract
- 8 oz cream cheese (for frosting)
- ½ cup butter, softened (for frosting)
- 3 cups powdered sugar (for frosting)
Instructions
- Preheat Oven: Preheat your oven to 350°F (175°C). Grease two 9-inch round baking pans and dust them with flour or line with parchment paper.
- Mix Dry Ingredients: In a bowl, whisk together flour, cocoa powder, baking soda, and a pinch of salt. Set aside.
- Cream Sugar & Oil: In another bowl, beat sugar and oil until smooth and fluffy. Add eggs one at a time, mixing well after each addition.
- Combine Wet Ingredients: Stir in buttermilk, vanilla extract, and vinegar until fully incorporated.
- Combine Wet & Dry: Gradually fold the dry ingredients into the wet mixture until just combined. Do not overmix.
- Bake: Divide the batter evenly between the pans and bake for 25–30 minutes. Check doneness with a toothpick. Let the cakes cool completely.
- Prepare Frosting: Beat cream cheese, butter, and vanilla until smooth. Gradually add powdered sugar until creamy and spreadable.
- Assemble: Spread frosting between layers, over the top, and around the sides.
Notes
- For a richer texture, use cake flour instead of all-purpose flour.
- Adding a few drops of red food coloring will intensify the cake’s vibrant hue.
- Store leftovers in the refrigerator for up to 4 days.

Leave a Comment