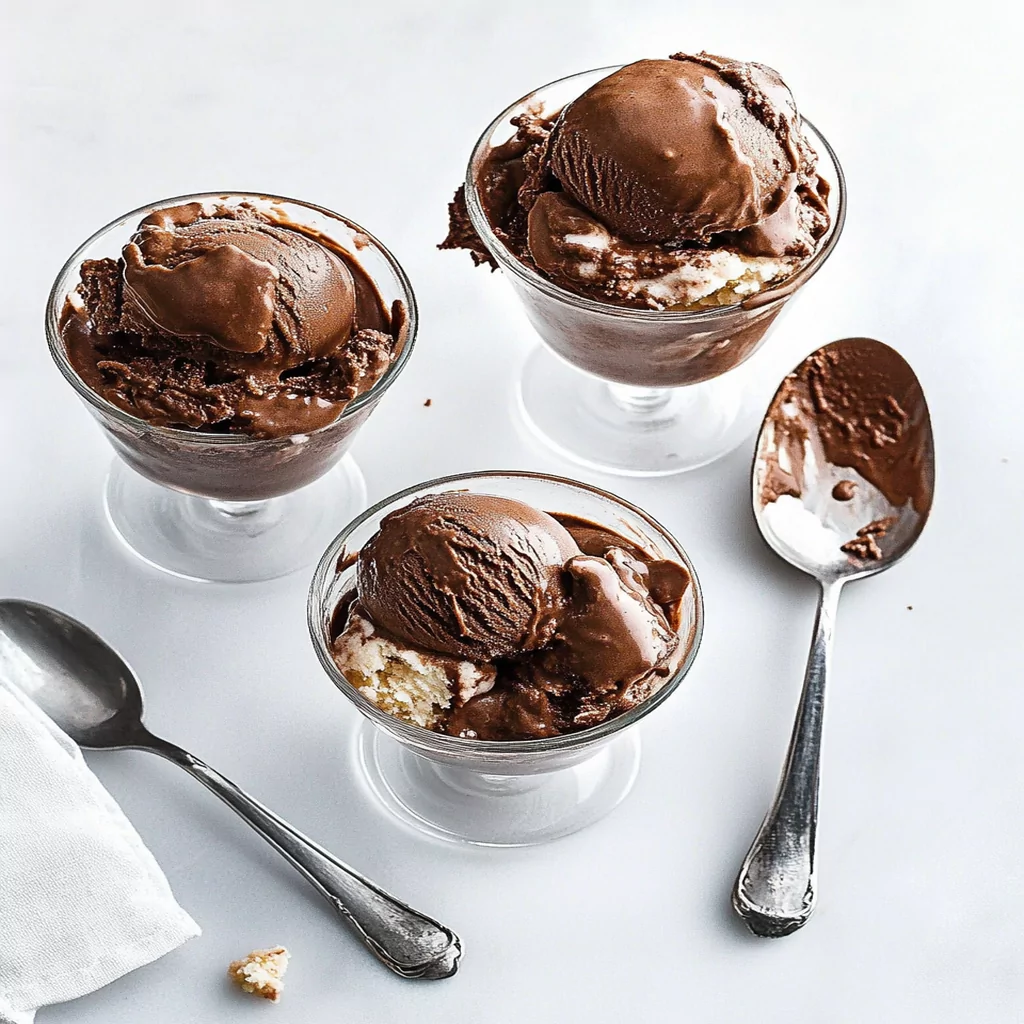
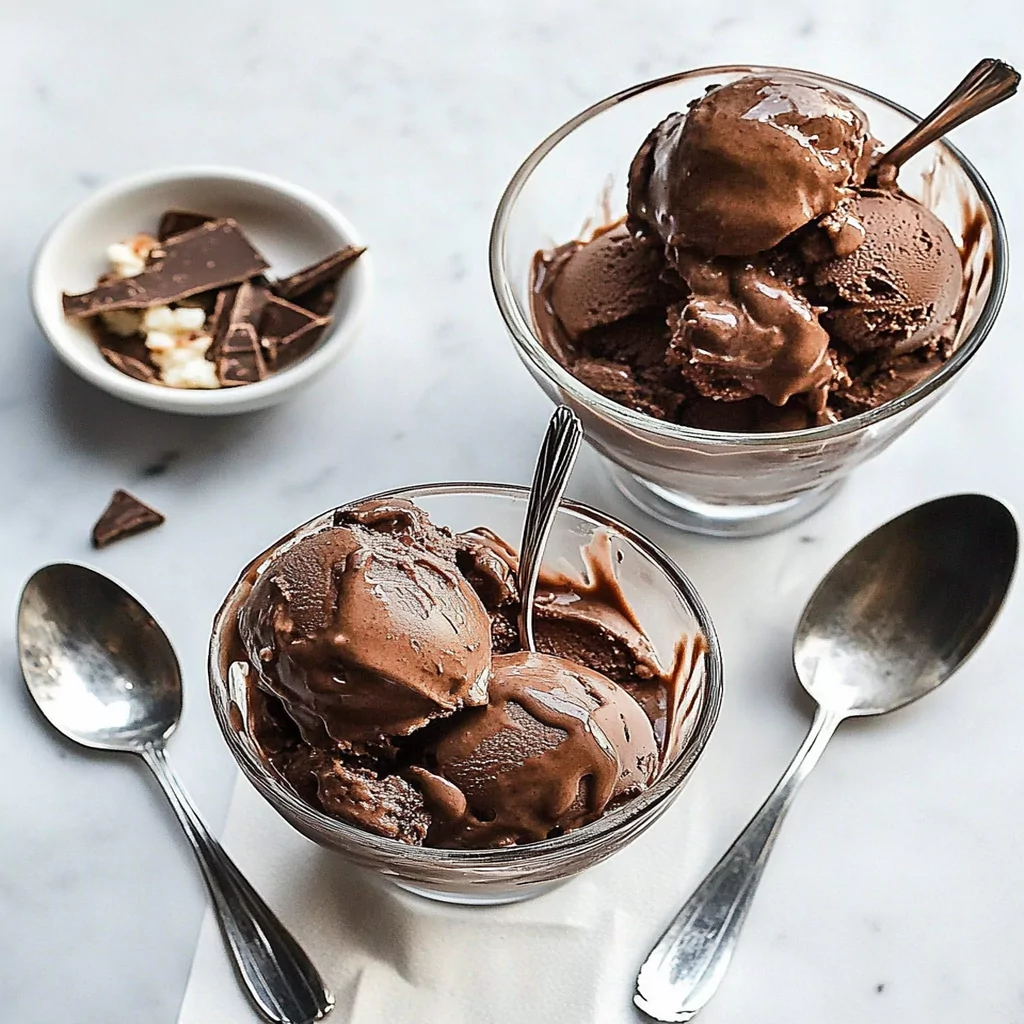
If you are a chocolate lover, then prepare to be enchanted by the luxurious taste of Death Chocolate Ice Cream. This indulgent treat offers a velvety texture and an intense chocolate flavor that will leave you craving more. Whether it’s a hot summer day or a cozy winter evening, this homemade ice cream will satisfy your sweet tooth like no other. With the perfect balance of creaminess and richness, it’s an excellent choice for entertaining guests or enjoying a quiet night in. Best of all, making this delightful dessert at home is easier than you might think! In just a few simple steps, you can whip up a batch that rivals any gourmet ice cream shop version. So grab your ingredients and get ready to dive into the world of this heavenly Death Chocolate Ice Cream.
Why You’ll Love This Death Chocolate Ice Cream
- Decadent Flavor: This ice cream boasts an intense chocolate flavor that will delight even the most discerning palates.
- Customizable Ingredients: Feel free to experiment with add-ins like nuts or caramel swirls to create your unique twist on this classic treat.
- Simple Preparation: With straightforward steps, you can make this delicious dessert without needing advanced cooking skills.

Ingredients for Death Chocolate Ice Cream
Here’s what you’ll need to make this delicious dish:
- Heavy Cream: This creamy base provides the rich texture that makes ice cream so indulgent; look for high-quality heavy cream for best results.
- Whole Milk: Combining whole milk with heavy cream gives the ice cream a smooth consistency while balancing richness.
- Cocoa Powder: Use unsweetened cocoa powder for an intense chocolate flavor; Dutch-processed cocoa can also be used for a deeper taste.
- Granulated Sugar: Sweetens the mixture perfectly; adjust the amount to suit your taste if you’re looking for something less sweet.
- Chocolate Chips: Semi-sweet or dark chocolate chips add delightful pockets of melted chocolate throughout the ice cream.
The full ingredients list, including measurements, is provided in the recipe card directly below.
How to Make Death Chocolate Ice Cream
Follow these simple steps to prepare this delicious dish:
Step 1: Combine Ingredients
In a large mixing bowl, whisk together heavy cream, whole milk, cocoa powder, granulated sugar, and vanilla extract until fully combined and smooth.
Step 2: Melt Chocolate Chips
In a microwave-safe bowl or using a double boiler, melt the chocolate chips until smooth. Stir gently to prevent burning.
Step 3: Mix Melted Chocolate
Add the melted chocolate into the creamy mixture from Step 1. Whisk thoroughly until evenly incorporated.
Step 4: Chill Mixture
Cover the bowl with plastic wrap and place it in the refrigerator for at least two hours or until well chilled.
Step 5: Churn in Ice Cream Maker
Pour the chilled mixture into your ice cream maker and churn according to manufacturer’s instructions until it reaches soft-serve consistency.
Step 6: Freeze Until Firm
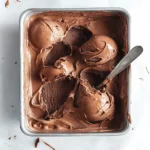
Transfer the churned ice cream into an airtight container and freeze for at least four hours until firm enough to scoop.
Transfer to bowls and serve immediately for a delectable dessert experience!
Tips and Tricks
Here are some helpful tips to ensure the best results for your dish:
- Chill Your Tools: For optimal churning results, chill your ice cream maker’s bowl before use.
- Add Flavors Wisely: If adding mix-ins like nuts or fruits, incorporate them during the last few minutes of churning.
- Storage Tips: Store leftover ice cream in an airtight container to prevent freezer burn and maintain its creamy texture.
How to Serve Death Chocolate Ice Cream
This Death Chocolate Ice Cream is versatile and pairs wonderfully with:
- Chocolate Cake: The rich chocolate flavor enhances the dessert experience, creating a decadent combination.
- Fresh Berries: The tartness of berries provides a refreshing contrast to the creamy sweetness of the ice cream.
- Whipped Cream: A light and airy topping that balances the richness of the ice cream beautifully.
- Espresso: A shot of strong coffee intensifies the chocolate flavor while adding a delightful bitterness.
Feel free to pair it with your favorite sides for a personalized meal!
Make Ahead and Storage
- Make Ahead: You can prepare the Death Chocolate Ice Cream base up to one day in advance. Simply follow your recipe, chill the mixture for about 1-2 hours, then churn it according to your ice cream maker’s instructions.
- Storing: For storing leftovers, place the ice cream in an airtight container. It will stay fresh in the freezer for up to two weeks. Ensure you smooth out the top before sealing to minimize air exposure.
- Reheating: To soften frozen ice cream for serving, leave it at room temperature for about 10-15 minutes. This step helps restore its creamy texture without compromising quality.
Suggestions for Death Chocolate Ice Cream
Avoid Overmixing the Ingredients
When making Death Chocolate Ice Cream, it is crucial to avoid overmixing your ingredients. Overmixing can incorporate too much air into your mixture, resulting in a lighter texture rather than the rich and creamy consistency you desire. Aim to mix until just combined, ensuring that all elements are evenly distributed without agitation. A smooth blend of chocolate, cream, and other components is essential for achieving that decadent flavor profile. Remember, gentle folding will help maintain the dense texture that this ice cream is known for.
Don’t Skip the Chilling Step
Chilling your mixture before churning is an essential step in crafting perfect Death Chocolate Ice Cream. If you skip this step, your ice cream may not achieve the desired creamy texture and could turn out icy or grainy. Allow your base to chill in the refrigerator for at least 4 hours or overnight for optimal results. This process enhances the flavors and ensures a smoother final product when you churn it. Always prioritize chilling; it’s a simple step that significantly improves the overall quality of your ice cream.
Use Quality Chocolate
The type of chocolate you use plays a pivotal role in the flavor of Death Chocolate Ice Cream. Low-quality chocolate can lead to a bland taste or an unpleasant aftertaste, diminishing your dessert’s rich character. Opt for high-quality dark chocolate with at least 70% cocoa content for a deep, satisfying flavor. Ensure it’s finely chopped to melt easily when combined with your other ingredients. Investing in good chocolate elevates your recipe and makes all the difference in creating a truly indulgent ice cream experience.
Don’t Forget to Taste as You Go
Tasting your mixture during preparation is vital when making Death Chocolate Ice Cream. Many home cooks underestimate the importance of sampling their creations along the way. As you add ingredients like sugar or vanilla extract, take small bites to ensure the balance of flavors is just right. Adjust sweetness or richness according to personal preference before freezing it completely. This practice not only ensures satisfaction but also allows you to develop confidence in your cooking skills.
FAQs
What is Death Chocolate Ice Cream?
Death Chocolate Ice Cream refers to an intensely rich and decadent chocolate-flavored ice cream made with high-quality dark chocolate, cream, sugar, and sometimes additional flavorings like vanilla or coffee. The name suggests an indulgent treat that satisfies even the most serious chocolate cravings. It’s known for its creamy texture and deep flavor profile, distinguishing it from standard chocolate ice creams. Many variations exist, incorporating various chocolates or additional mix-ins like fudge swirls or chunks of dark chocolate.
How can I store Death Chocolate Ice Cream properly?
To store Death Chocolate Ice Cream effectively, ensure that it’s placed in an airtight container after churning and freezing it properly. This helps prevent freezer burn and maintains its creamy texture over time. Ideally, consume it within two weeks for optimal freshness; however, if stored correctly, it may last up to a month in the freezer without significant loss of quality. To serve later, let it sit at room temperature for about 10 minutes before scooping; this allows easier handling while preserving its luxurious mouthfeel.
Can I make Death Chocolate Ice Cream without an ice cream maker?
Yes! You can definitely make Death Chocolate Ice Cream without an ice cream maker using a no-churn method. Simply prepare your mixture as usual and pour it into a shallow dish instead of an ice cream maker’s bowl. Stir every 30 minutes during the first few hours of freezing to break up ice crystals until fully frozen (usually takes about 6-8 hours). While this method might yield slightly different textures than traditional churning, you’ll still enjoy deliciously rich homemade ice cream without specialized equipment.
What variations can I try with Death Chocolate Ice Cream?
There are numerous delicious variations you can explore with Death Chocolate Ice Cream! Consider adding mix-ins such as crushed cookies or nuts for extra texture and flavor contrast. Swirling in peanut butter or caramel sauce can create delightful combinations as well. For those who enjoy different flavors alongside chocolate, try infusing espresso powder into your base or using flavored extracts such as mint or orange zest for a unique twist on this classic treat.
Conclusion
In conclusion, making delightful Death Chocolate Ice Cream requires attention to detail and quality ingredients to achieve that luxurious richness everyone craves. By avoiding common mistakes like overmixing and skipping chilling steps, you’ll enhance its creamy texture significantly. Using high-quality chocolate adds depth while tasting during preparation ensures balanced flavors tailored to personal preferences. With proper storage techniques and various fun adaptations available, this indulgent treat can be enjoyed any time at home—perfect for satisfying those intense chocolate cravings! Enjoy crafting your perfect batch today!
Chocolate Ice Cream
- Prep Time: 15 minutes
- Cook Time: 20 minutes
- Total Time: 35 minutes
- Yield: Approximately 6 servings 1x
- Category: Dessert
- Method: Churning
- Cuisine: American
Description
Indulge in the luxurious taste of Death Chocolate Ice Cream, a rich and creamy dessert that promises to satisfy even the most intense chocolate cravings. This decadent homemade ice cream features a velvety texture and an explosion of chocolate flavor, making it the perfect treat for any occasion. Whether enjoyed on a hot summer day or served alongside warm desserts, this easy-to-make delight combines high-quality ingredients for a gourmet experience right in your kitchen. Ideal for impressing guests or treating yourself, this Death Chocolate Ice Cream is sure to become a favorite in your dessert repertoire.
Ingredients
- 1 cup heavy cream
- 2 cups whole milk
- ¾ cup unsweetened cocoa powder
- 1 cup granulated sugar
- 1 cup semi-sweet chocolate chips
- 1 teaspoon vanilla extract
Instructions
- In a large bowl, whisk together heavy cream, whole milk, cocoa powder, sugar, and vanilla until smooth.
- Melt chocolate chips in a microwave-safe bowl or double boiler until smooth.
- Stir melted chocolate into the creamy mixture until well combined.
- Cover and chill the mixture in the refrigerator for at least 2 hours.
- Pour chilled mixture into an ice cream maker and churn according to instructions until soft-serve consistency.
- Transfer to an airtight container and freeze for at least 4 hours before serving.
Nutrition
- Serving Size: ½ cup (120g)
- Calories: 320
- Sugar: 28g
- Sodium: 50mg
- Fat: 20g
- Saturated Fat: 12g
- Unsaturated Fat: 8g
- Trans Fat: 0g
- Carbohydrates: 34g
- Fiber: 3g
- Protein: 5g
- Cholesterol: 70mg


Leave a Comment